Pre-Surgical: Surgical Template
Surgical Template
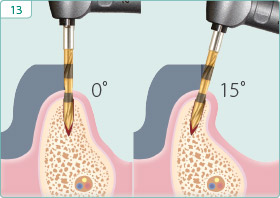
Accurate placement of any implant requires the awareness of its intended prosthetic restoration. Mounted study casts and a diagnostic wax-up of the teeth to be replaced are usually necessary for the fabrication of a surgical template that will aid the dentist in the appropriate placement of multiple implants. Although the location and availability of bone will dictate the ultimate trajectory of the pilot drill, clinicians should strive to stay within the center of the intended tooth and within 10˚ of the trajectory of the intended prosthesis.
Vacuum-Formed Template
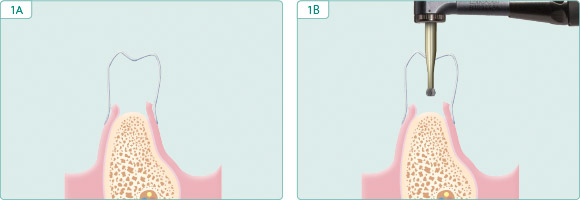 |
| After making an impression and subsequent cast of the diagnostic wax-up of the intended restoration, a vacuum-formed template is prepared on the cast from thin template stock which is commonly used for the chairside fabrication of transitional restorations. A hole is drilled in the middle of the incisal or occlusal surface of the template in the location of the intended tooth. The vacuum-formed template, if possible, is trimmed to include at least one tooth distal and three or four teeth mesial to the area of the intended replacement. |
Template from Stone Model
 |
 |
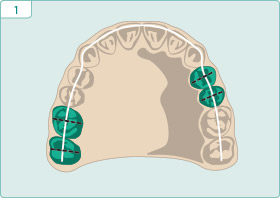
| Using a duplicated stone model of the diagnostic wax-up, draw a line through the incisal edge and occlusal surfaces of the teeth and another line in the center of each tooth to be replaced, intersecting the incisal or occlusal line. | Remove the lingual half of the teeth to be replaced. |
 |
 |
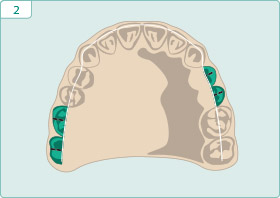
| Mold acrylic onto the lingual aspect of the model up to the level of the central fossa or incisal edge of the teeth to be restored. | Cut a 2.5mm wide groove in the acrylic corresponding to the middle of each intended tooth to be replaced. |
Fabrication of Palatal Template from Existing Prosthesis
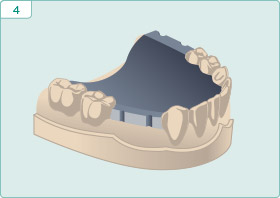
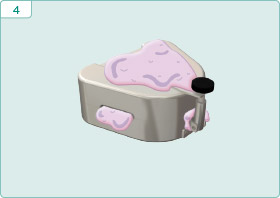
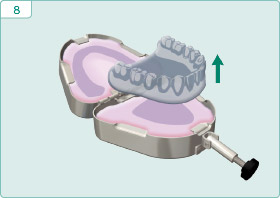
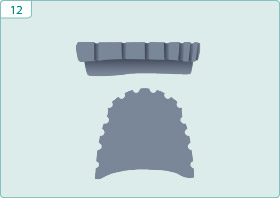
For larger edentulous areas, fabricate a palatal template by using an existing removable prosthesis. When fabricating the palatal template, the buccal aspect is inclined from the incisal edge or central fossa of the proposed teeth back to the crest of the alveolar ridge, which is represented on a duplicated prosthesis as the greatest concavity on the alveolar ridge side of the prosthesis.
 |
 |
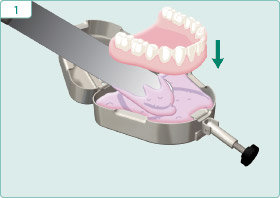
| Insert denture into alginate in denture duplicator. | Apply separating medium. |
 |
 |
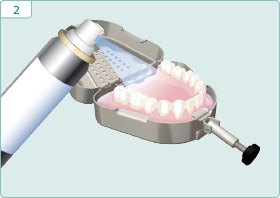
| Fill other side with alginate. | Close and allow alginate to set. |
 |
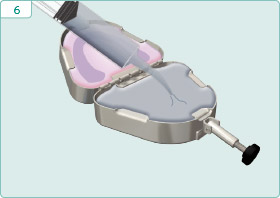 |
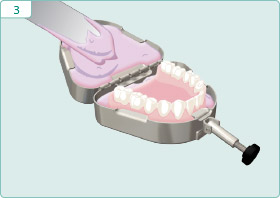
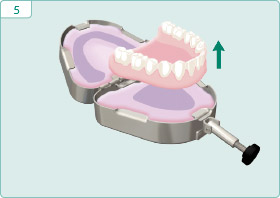
| Open and remove denture. | Fill alginate mold with acrylic. |
 |
 |
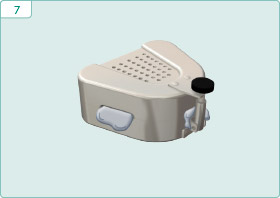
| Close and allow acrylic to set. | Open and remove duplicated denture. |
 |
 |
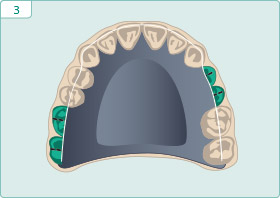
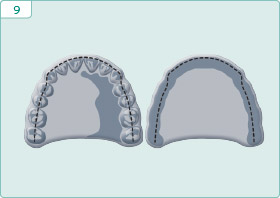
| Draw a line in the middle of each tooth and a line representing greatest concavity on the tissue side. | Cut a 2.0mm wide groove in center of each tooth joining the lines representing the middle of each tooth and greatest concavity of the tissue side. |
 |
 |
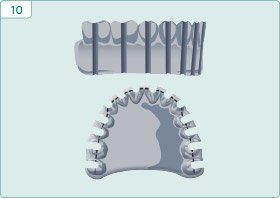
| Remove the buccal acrylic along the slope joining the two lines representing the middle of each tooth and greatest concavity of the tissue side. | Trim excess incisal length to prevent interference with head of handpiece. |
 |
|
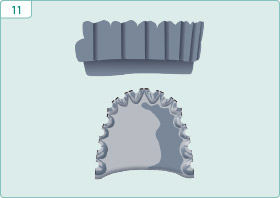
| Template determines mesio-distal positioning. Availability of bone determines final bucco-lingual angulation. |
Keys to Success
- The trajectory of the pilot bur will be the trajectory of the implant and the trajectory of a straight abutment.
- The final implant osteotomy, to the extent possible, should be centered in the middle of the intended prosthetic tooth.
- An appropriate mesio-distal positioning of a pilot osteotomy is more critical than a slightly off-axis trajectory.
- Both the vacuum-formed and palatal templates are placed in cold sterilization prior to their being used to facilitate achieving an appropriate trajectory for the pilot bur.