Since 1985 » Simple. Predictable. Profitable.
All-Ceramic Crown: Shouldered Abutment
Page 1 | Page 2 | Page 3 | Page 4 | Page 5 | Page 6
Impression Technique
 |
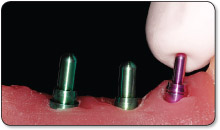 |
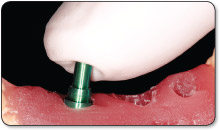
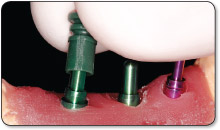
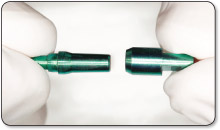
| 1. Insert a green 3.0mm titanium impression post into the implant well, using finger pressure. | 2. Insert a red 2.0mm titanium impression post into the implant well, using finger pressure. |
 |
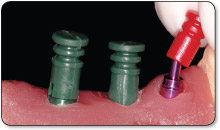 |
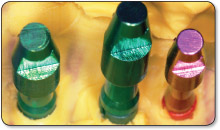
| 3. Snap a 3.0mm plastic impression sleeve onto a corresponding 3.0mm titanium impression post. | 4. Snap a 2.0mm plastic impression sleeve onto a corresponding 2.0mm titanium impression post. |
 |
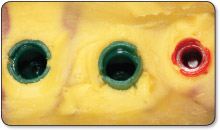 |
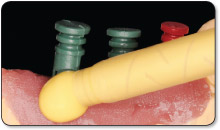
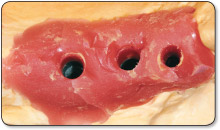
| 5. Inject impression material around plastic impression sleeves and make impression. | 6. After making impression, plastic impression sleeves should be withdrawn within the impression while titanium posts remain in the implant well. |
 |
 |
| 7. Remove titanium posts from the implant well and assemble to a corresponding titanium implant analog. | 8. Insert assembled unit into the impression. |
 |
|
| 9. Pour a stone model. |
Impression Technique PDF
 |
Impression and Temporization Options |
Stealth Shouldered Abutment