Integrated Abutment Crown™ (IAC): Laboratory Technique
Page 1 | Page 2 | Page 3 | Page 4 | Page 5 | Page 6 | Page 7 | Page 8 | Page 9 | Page 10 | Page 11 | Page 12
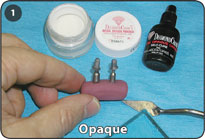
Opaque the Abutment
 |
 |
 |
 |
 |
 |
 |
 |
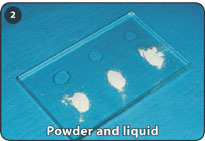
1. Apply three separate drops of the Metal Opaque Liquid (Part # C318) on a glass slab.
2. Apply three equal portions of either Neutral Metal Opaque Powder (Part # C421) or the appropriate shade of Metal Opaque Powder on a glass slab.
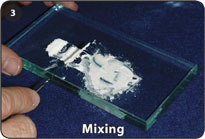
3. Utilize rapid repetitive circular strokes to mix one portion of powder with one drop of liquid. Repeat with other portions before joining the groups.
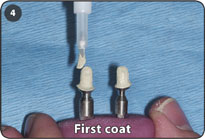
4. Apply one coat of the metal opaque (neutral metal opaque or appropriate shade) with a disposable brush.
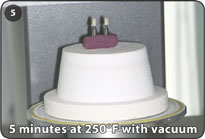
5. Place abutment in oven at 250˚ F (120˚ C) and hold under vacuum for 5 minutes. Vacuum is not essential but it does help to increase the bond strength.
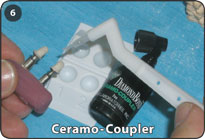
6. Apply Ceramo-Coupler (Part # B204) and a second opaque layer of the appropriate shade by repeating steps 1-5. Allow to air dry.
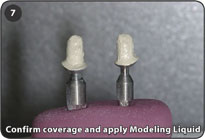
7. Confirm that the entire coronal area is covered with opaque material. Apply Modeling Liquid (Part # C312).
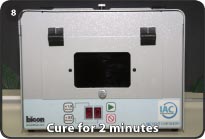
8. Light cure for 2 minutes.
Keys to Success
- To avoid the appearance of a gray or blue crown, two metal opaque layers are necessary: Neutral Metal Opaque layer and a Metal Opaque layer of the appropriate shade (A1, A2, …).
- Use of the Neutral Metal Opaque is essential if anticipated final shade is either A1 or B1.
- For ideal results, mix the Metal Opaque Powder with the Metal Opaque Liquid and apply the mixture onto the abutment within 5 minutes.
Laboratory Halogen Light Booths
DiamondLite Fotokur F/X 100v-250v by DRM
Charisma/ArtGlass Stroboscopic Halogen Lab Cure Booth by Heraeus/Kulzer
Targis/Vectris Halogen Lab Cure Booth by Ivoclar
Light booth by Generic Pentron
Requirements:
300mW Power, 500mW/cm2
>60˚C/140˚F internal chamber temperature throughout cure cycle
Exposure of 1-2 minutes for 2-3mm thick layer of Dentin, Enamel, and Incisal
Exposure of 2-4 minutes for 0.5-1.5mm thick layer of Opaque Dentin, Dentin Intensifiers and Dentin Chroma Modifiers
Page 1 | Page 2 | Page 3 | Page 4 | Page 5 | Page 6 | Page 7 | Page 8 | Page 9 | Page 10 | Page 11 | Page 12