Porcelain Fused to Metal: Non-Shouldered Abutment
Page 1 | Page 2 | Page 3 | Page 4 | Page 5 | Page 6 | Page 7 | Page 8
Temporization and Impression of an Unmodified Abutment with an
Acrylic Sleeve
 |
 |
 |
 |
 |
 |
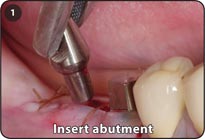
1. Insert the appropriate non-shouldered abutment. The width of the abutment is dictated by the anatomy of the interdental papillae. The abutment should support the papillae without encroaching upon them.
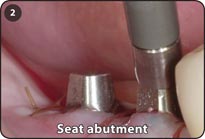
2. Tap the abutment in the long axis of the abutment post and implant well.
3. Snap on appropriate acrylic temporization sleeve.
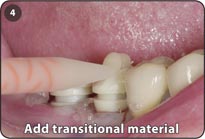
4. Add transitional material to a modified or unmodified sleeve.
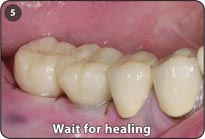
5. Wait for soft tissue healing.
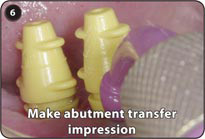
6.Make an indirect abutment level transfer impression by injecting impression material around the non-shouldered impression sleeve and abutment.
Notes: Statistically, a 2.0mm diameter abutment post will move 0.1mm into the well of an implant from its initial insertion to its being definitively seated, and a 3.0mm abutment will move 0.25mm.
Keys to Success
- It is paramount that the proper abutment transfer die height be chosen to pour the stone model since all transfer dies of the same color will snap into the impression sleeve of that color.
- The diameter and height of the transfer dies are sized to match the diameter and height of the abutments.
- Avoid making an impression with the tooth colored temporization sleeve, since they are not color coded with the transfer dies and are more retentive.
Page 1 | Page 2 | Page 3 | Page 4 | Page 5 | Page 6 | Page 7 | Page 8