Integrated Abutment Crown™ (IAC): Impression Technique
Page 1 | Page 2 | Page 3 | Page 4 | Page 5 | Page 6 | Page 7 | Page 8 | Page 9 | Page 10 | Page 11 | Page 12
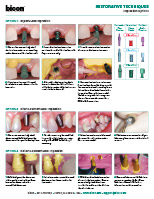
The Bicon Integrated Abutment Crown™ (IAC) is a cementless and screwless crown made possible by the 360˚ of universal abutment positioning of Bicon’s 1.5˚ locking taper implant-abutment connection. The IAC is made from a polyceramic material. The Integrated Abutment Crown™ begins with an implant level impression and the preparation of a chamfer margin on a non-shouldered or shouldered abutment. The abutment is then prepared, opaqued, and successive layers of the light cured polyceramic material are bonded directly onto the abutment to form the IAC.
Impression Technique
 |
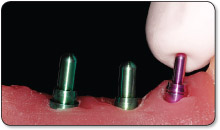 |
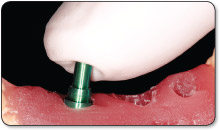
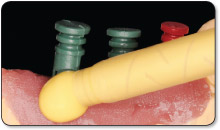
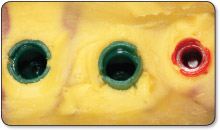
| 1. Insert a green 3.0mm titanium impression post into the implant well, using finger pressure. | 2. Insert a red 2.0mm titanium impression post into the implant well, using finger pressure. |
 |
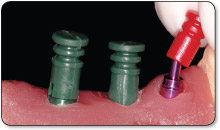 |
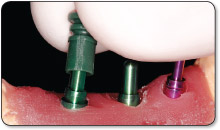
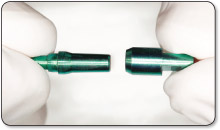
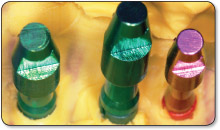
| 3. Snap a 3.0mm plastic impression sleeve onto a corresponding 3.0mm titanium impression post. | 4. Snap a 2.0mm plastic impression sleeve onto a corresponding 2.0mm titanium impression post. |
 |
 |
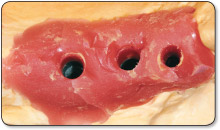
| 5. Inject impression material around plastic impression sleeves and make impression. | 6. After making impression, plastic impression sleeves should be withdrawn within the impression while titanium posts remain in the implant well. |
 |
 |
| 7. Remove titanium posts from the implant well and assemble to a corresponding titanium implant analog. | 8. Insert assembled unit into the impression. |
 |
|
| 9. Pour a stone model. |
Impression Technique PDF
 |
Impression and Temporization Options |
Page 1 | Page 2 | Page 3 | Page 4 | Page 5 | Page 6 | Page 7 | Page 8 | Page 9 | Page 10 | Page 11 | Page 12